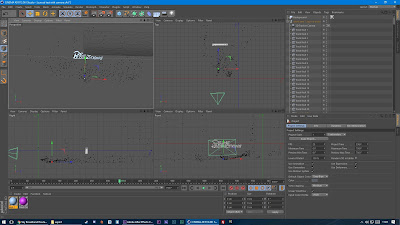
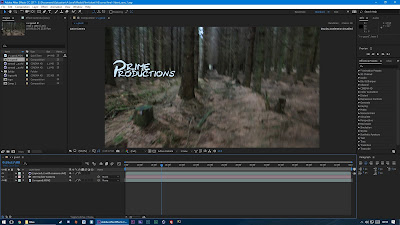
 To create the text for the Prime Productions logo, I found a horror style font from the internet, and created a 3D model within Cinema 4D. Within C4D I modelled a title that looks good and that could be used for an ident logo. I then imported the C4D project file into Adobe After Effects, so I could use motion tracking to make the title stay in one spot, as if it was actually there in the footage. Using the built-in Cinema 4D plugin, within After Effects, I could select the renderer of the text, and alter settings of the render using the built in parameters, from the plugin.
 I then hid the 3D text layer and tracked the camera from the footage within after effects. After AE had done its magic, I could then create a 3D solid, where I would want the text to be, and the camera on the timeline. I then created null layers where AE camera tracked, so I could lock the text onto the right point. I then exported the camera and the null layers from AE into a C4D project file, so I could build the text in the right place in the environment. I placed the text in the right place on one of the null layers, altering the rotation, position and scale so the text looks good in the ident. In C4D I could import the footage to a background and add the video as a material. This is so I could sync the text positioning with the footage. After syncing the text, I deleted the background layer, I then re-imported the C4D save back into After Effects so I could combine the 3D object and the footage together. I then textured the logo to a horror style texture so the text looked better.
I imported the camera and null object layers into Cinema 4D, rather than importing the text straight into it, so the camera would move around the text. This makes the text look like it is in the scene and makes it look more realistic. If I just imported the 3D text into after effects with the camera looking straight at the text, it would look unusual as the text would be looking at the camera all the time. By exporting the camera into C4D I could import the save into AE so it looks like the camera moves around the text.
After sorting out the 3D text, and the motion tracking. In After Effects I used the colour correction effect, to make the footage have a blue tinge to it. This follows the typical horror conventions, making the ident relate to the genre, the setting and the narrative of the film. Using adjustment layers I could then apply effects to the whole scene, making the ident look a lot better.
I then masked the trees that come in front of the camera so I could hide the text behind them as the camera pans past. This is so the text does not come on top of the trees making the difference in foreground and background non existent. I then animated the positioning of the masks as they need to follow the trees as they move past. I could have done this using the built in motion tracking but thought it would be quicker to just key-frame the positioning of the masks. I key-framed the masks instead of motion tracking as the trees that come in front of the camera moved past quickly and the it is quite a smooth movement.
Using colour correction, altering the levels and contrast of the scene, I could control how dark, or light I wanted the scene to be. I made the footage more blue to apply to the conventions and made the forest much darker than the original, to set the mood of the clip.
This made the setting look much more atmospheric and helps for it to apply to horror genre conventions.
I then added a smoke effect to the scene, using stock footage. I altered the blending options so the original footage would show through the grey background. I then RAM previewed the footage, but I did not like that the smoke effect was viable when the tree was moving past, the camera.
I then masked the tree key-framing the position of the mask so it would move with the tree. Basically like the other mask to hide the Prime Productions logo. I then inverted the mask so the footage would only play outside of the mask. I then previewed the compositions again, and found that I did not like the fact that the smoke effect was there before the wipe of the tree. I then altered the positioning of the mask so it covered the other section before the wipe of the tree. This then make it so the smoke only appeared after the tree had wiped past. I then feathered the mask so it would blend and fade out on the edges so you could not just see a distinct line, which looks unnatural.
Through out the process of making the ident I experimented with different textures for the Prime Productions logo. I prefer the red metallic type look to the logo. All the previous textures I used were supposedly plastic but when I changed the text to a metal, it thought that the dull metallic texture looked a lot better.
 I then went onto making the sound for the ident. I wanted a mysterious ambient sound in the background to connote the horror genre, I also added a deep bass effect when the text entered the screen. I rendered out the composition from after effects and imported it into audition so I could link the sounds with the time things happen in the visuals on screen. I then altered the levels, volume and changed the pitch of the tracks. I also added a glitchy type sound when the text glitches, and flickers.
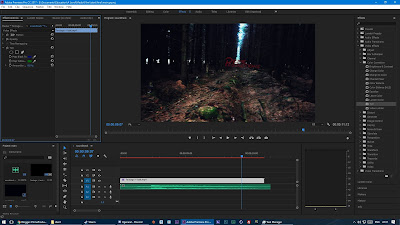
I then exported the audio to Premiere and added the footage. I then added a colour correction to make the footage look more blue which applies to typical horror conventions and rendered the final ident.


Fantastic work Elden, well done. Really impressive tracking! Do we have a final cut with ident now then? If so it's important to gather as much feedback as possible so that you can successfully evaluate it.
ReplyDelete